Do it yourself!
DIY - Marbled-looking easter eggs
Create the cutest decorations for the nursery or children’s room yourself! And this doesn’t have to be very complicated! Our DIYs show you how to make a true eye catcher with only a few basic items.
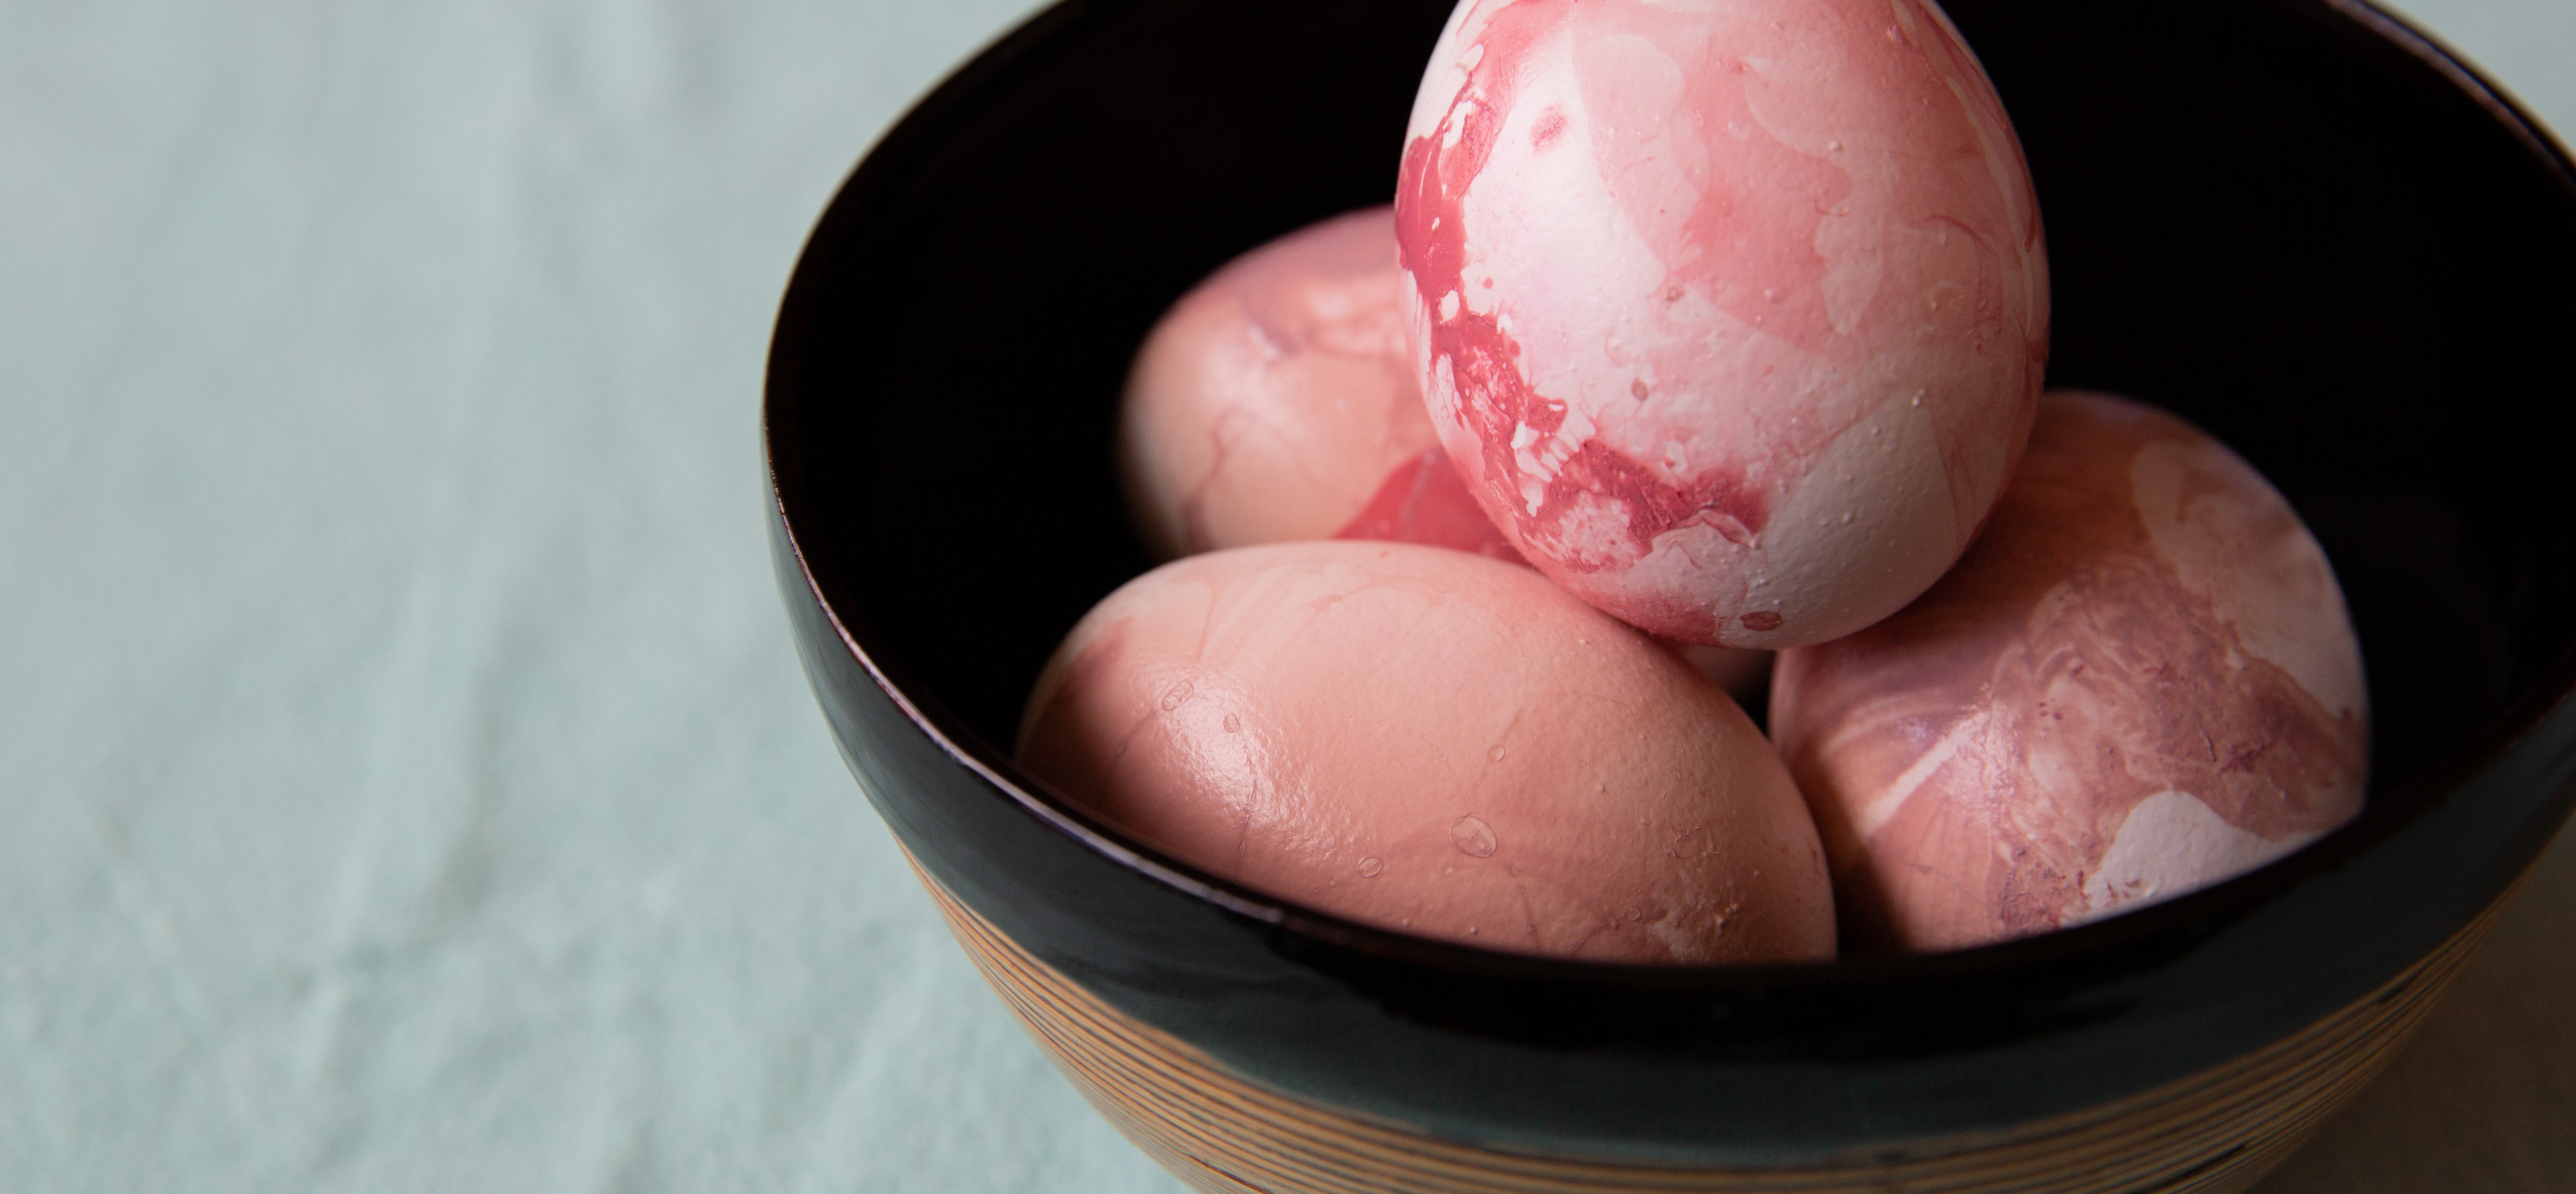
Easter is around the corner! And this year, festivities may be very different from what you’re used to. Due to social restrictions, you may not be celebrating together with your relatives. That is why we are going to make the most out of it and create a nice atmosphere at home. There’s lots of time now to decorate your table in Easter style. And what would be Easter without colourful eggs! Our DIY egg decoration, using nail polish, is original and very fun to do together with your kids
What you need:
- Bowl of water at room temperature (Tip: cover the bowl in plastic foil or use a disposable bowl)
- Nail polish
- Boiled white eggs
- Egg cups or a rack to dry the eggs
- Optional, but highly recommended: plastic gloves


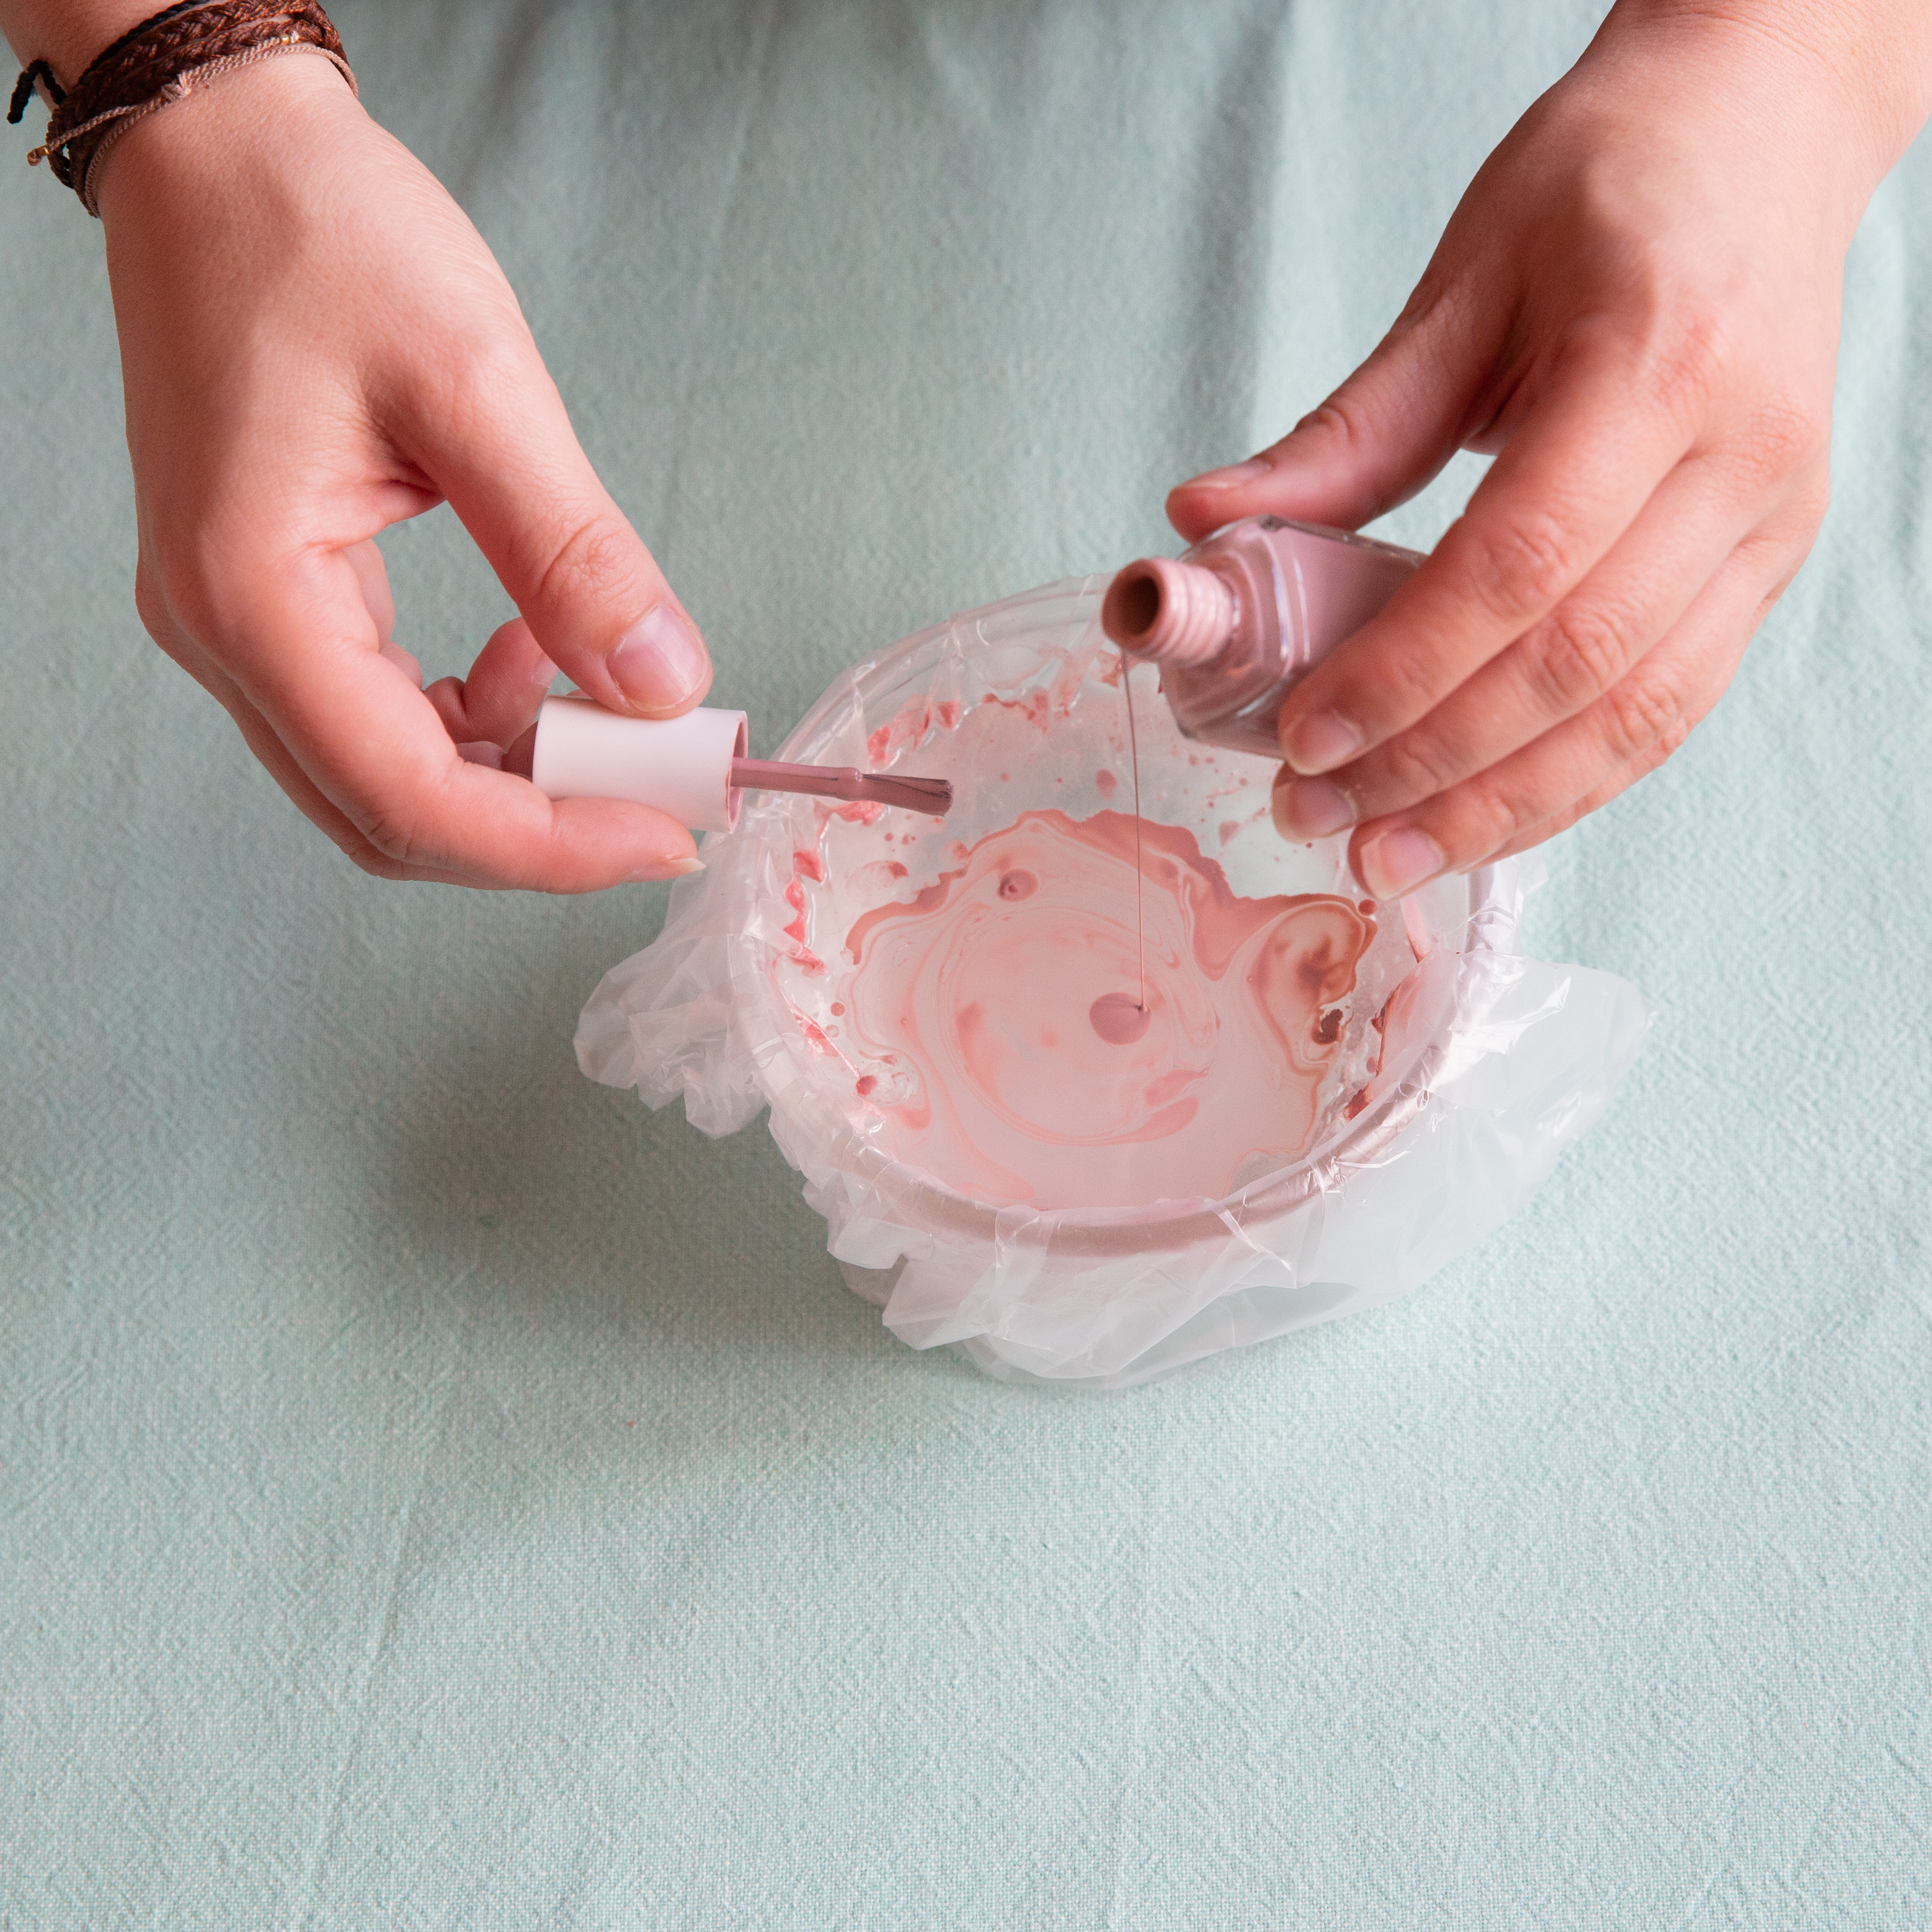
Step 1 – Pour some nail polish into the bowl with water. Make sure the water is the right temperature, because if the water is too cold, the nail polish will sink to the bottom of the bowl. The more nail polish you use, the darker the colour on the egg will be. Mixing different colours also gives a nice effect.
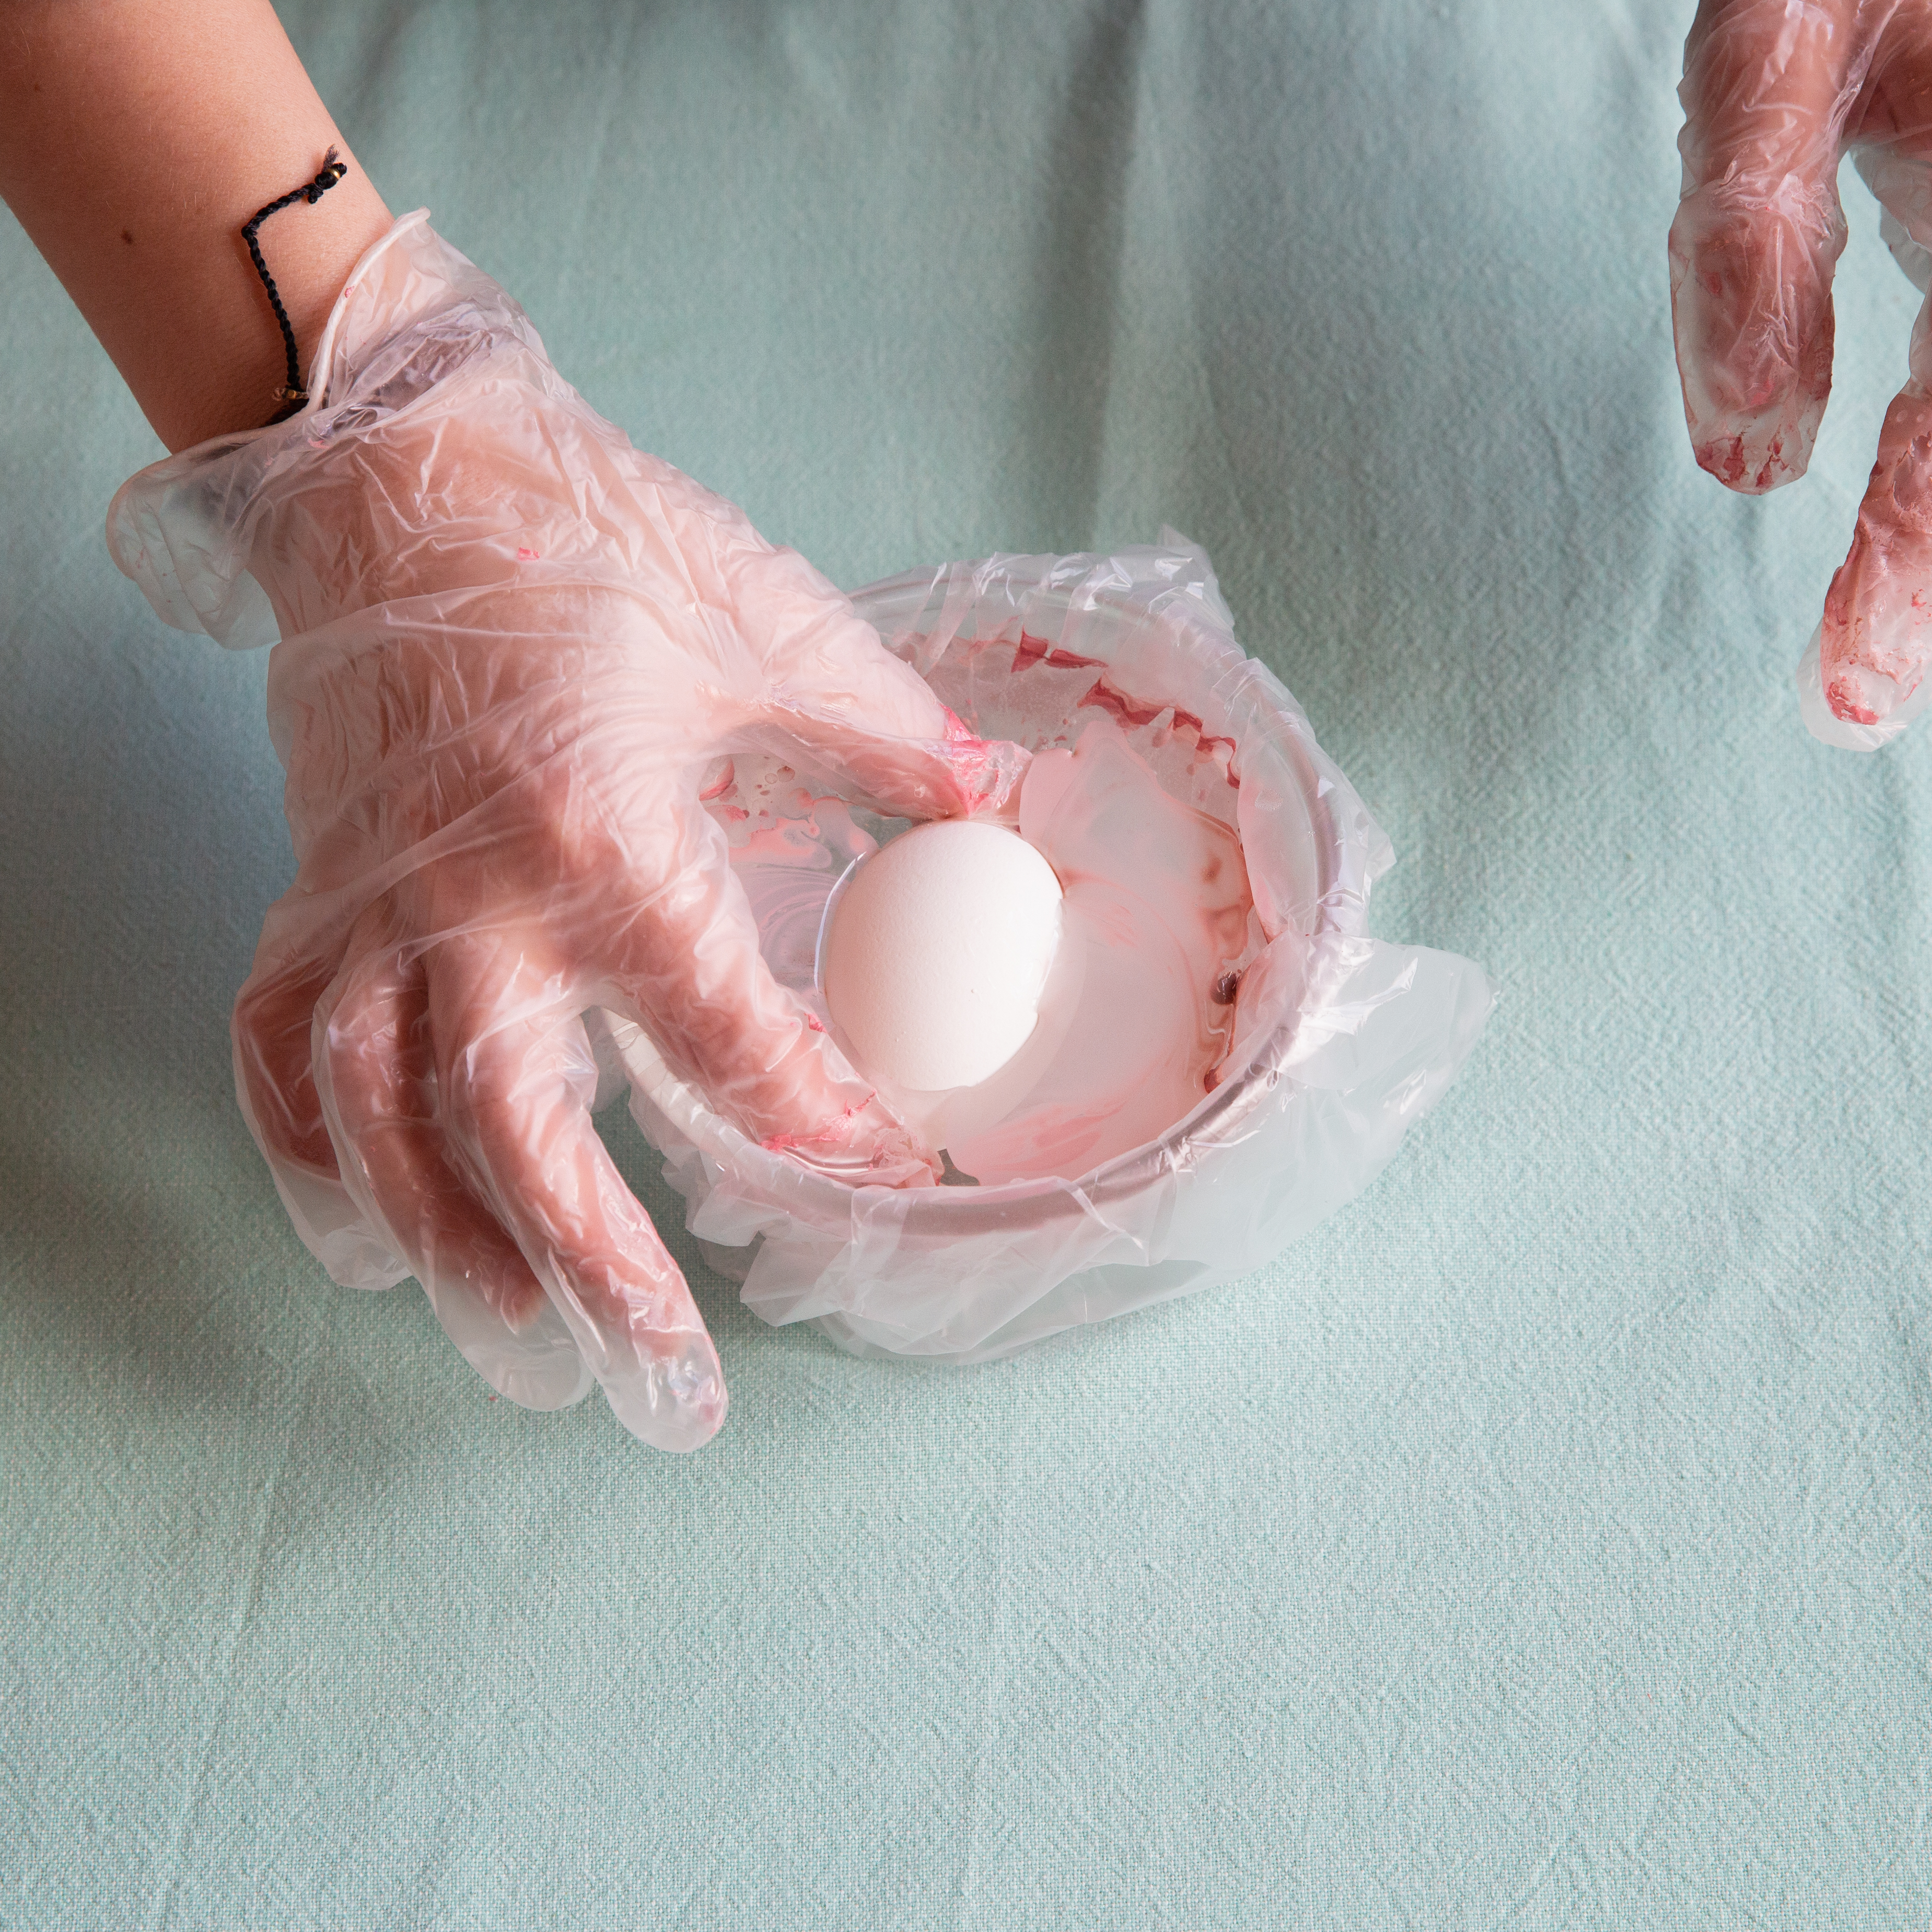
Step 2 – Put on the plastic gloves and carefully immerse a boiled egg into the water.
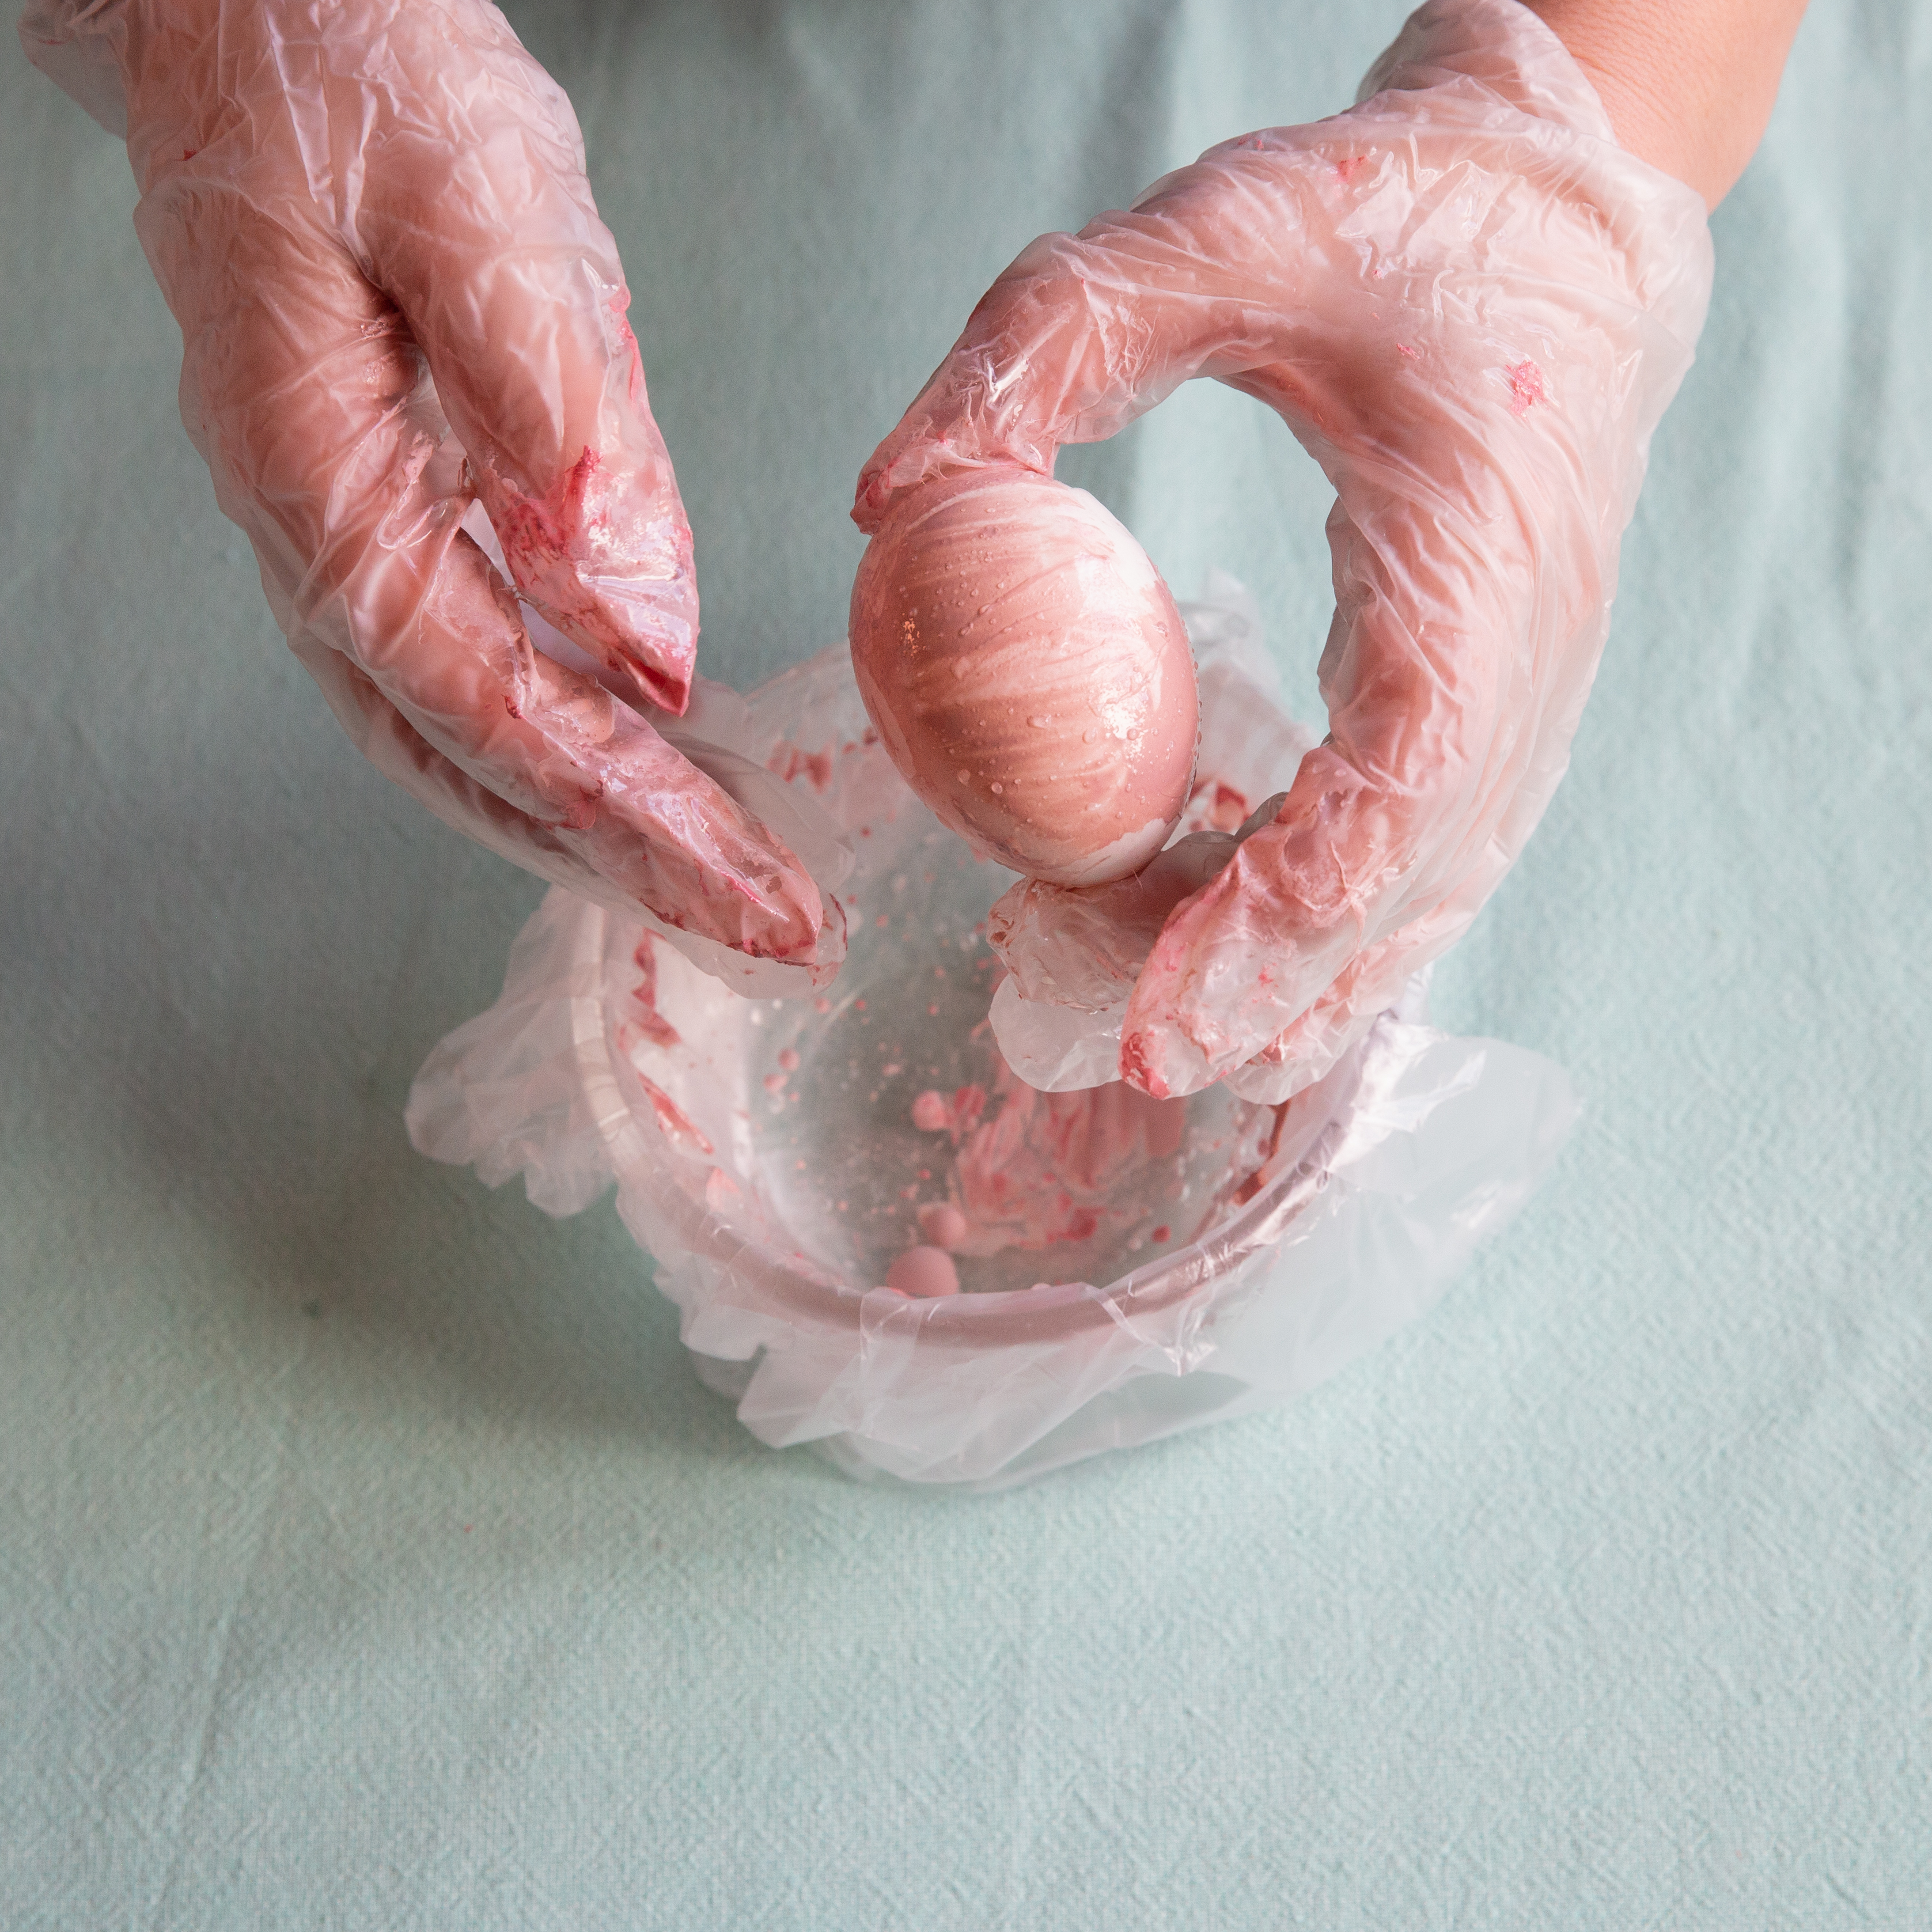
Step 3 – A layer of nail polish now covers the egg. Place the egg in the egg cup or on a rack for 30 minutes to let it dry.

Attention: because we’ve used nail polish, we recommend to no longer consume the eggs once they’ve been decorated.


